Groq API 🔌🤖⚡
Create a free Groq account, get your API key, and make your first real AI call in Python.
Day 2 — Connect to Groq API
AI Agent Course — RohithBuilds
Today you will create a free Groq account, get your API key, and make your first real AI call in Python.
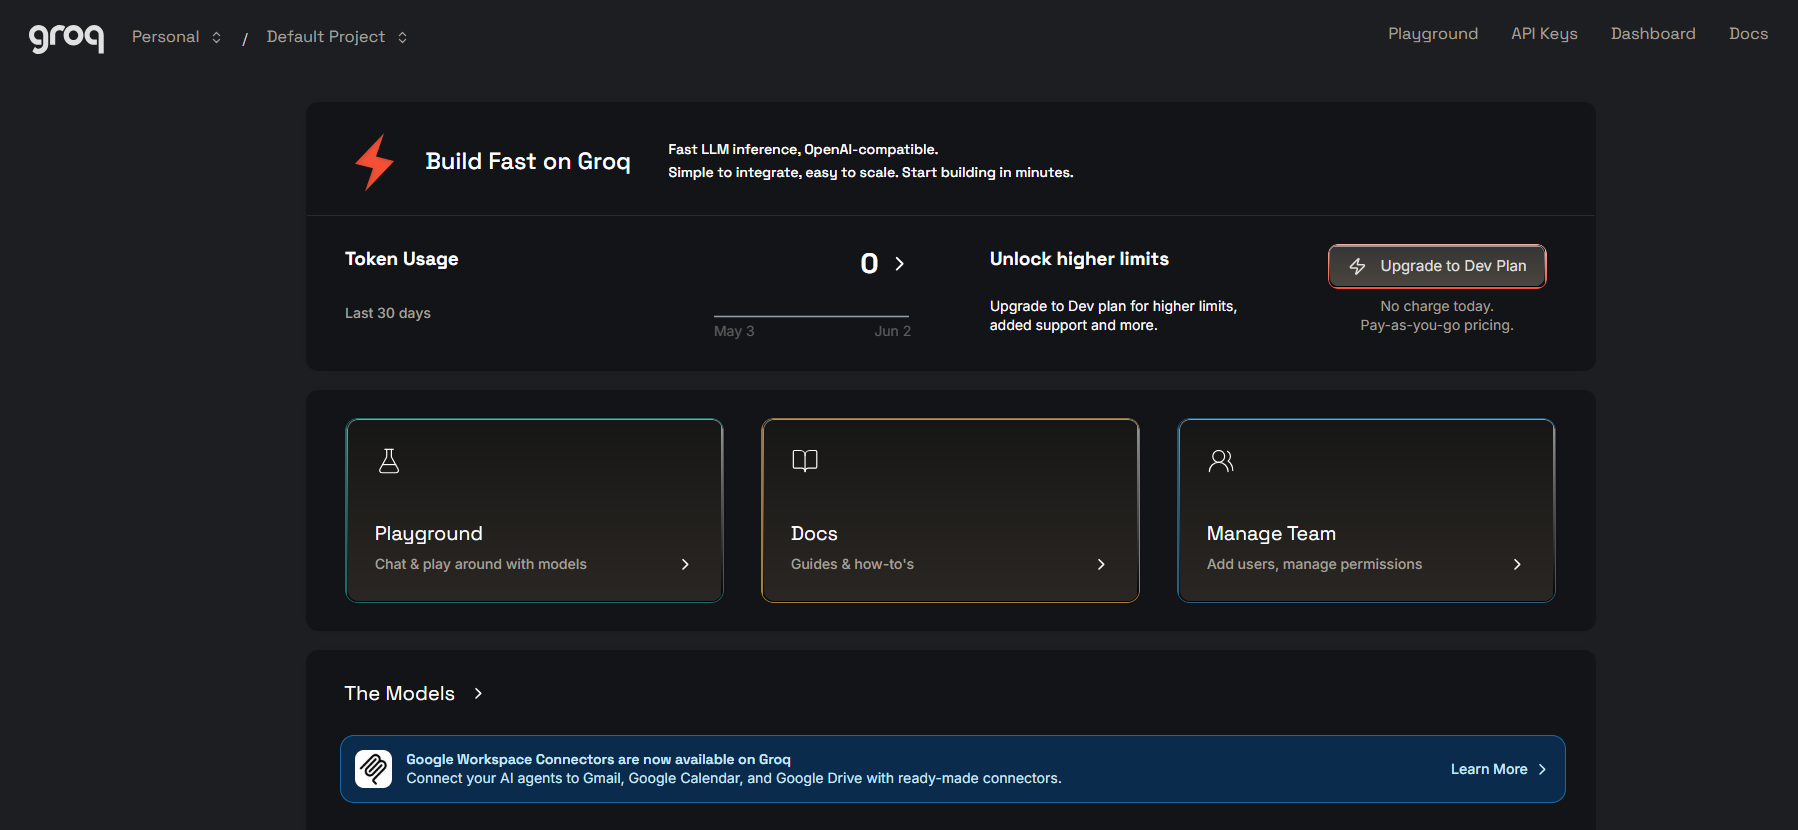
Step 1 — Create a Free Groq Account
- Go to console.groq.com
- Click Sign Up
- Sign up with Google or Email
- Verify your email if asked
Step 2 — Get Your API Key
- After logging in click API Keys on the left sidebar
- Click Create API Key
- Give it a name — type
ai-agent-course
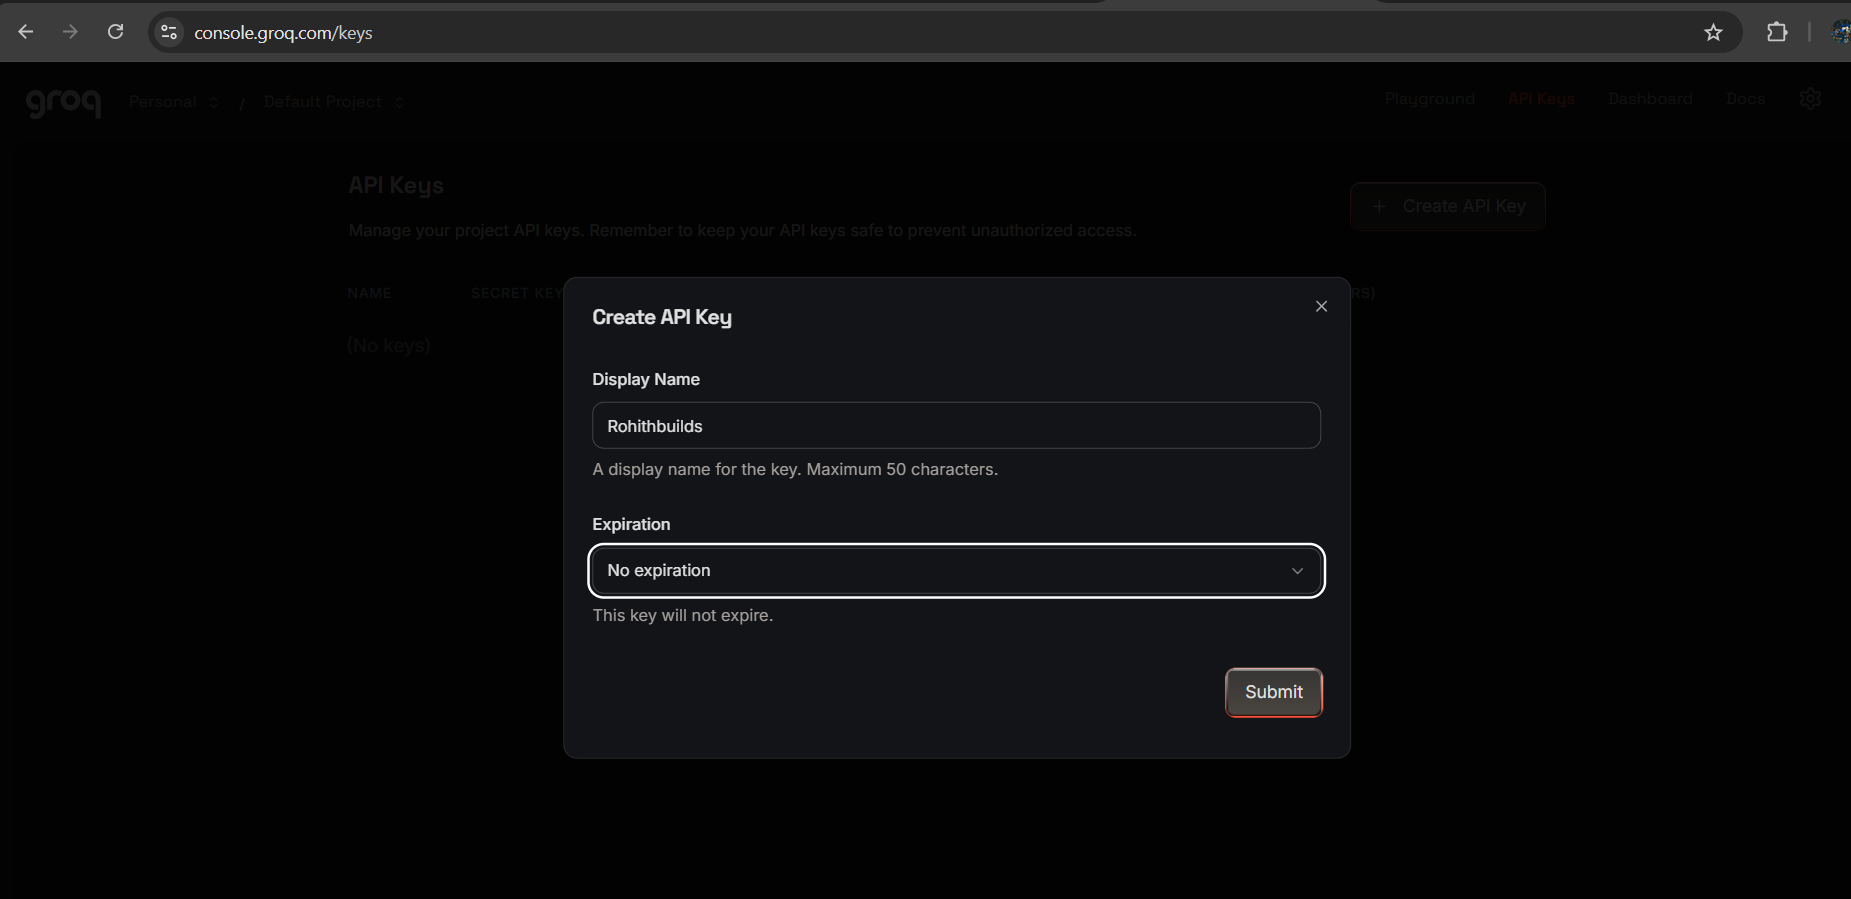
- Copy the key and save it somewhere safe
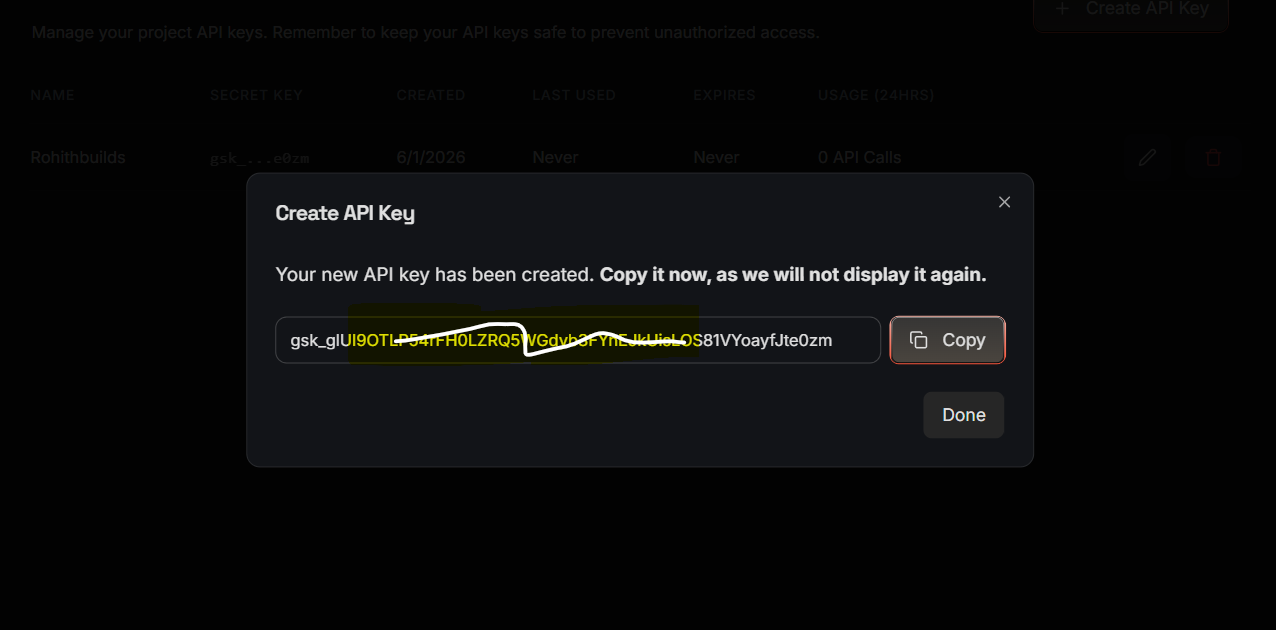
⚠️ Important
You will not see this key again after closing the window. Copy it now.
Step 3 — Save Your API Key Safely
Create a file called .env in your project folder. Open it in VS Code and add this line — replace the value with your actual key:
GROQ_API_KEY=paste_your_key_here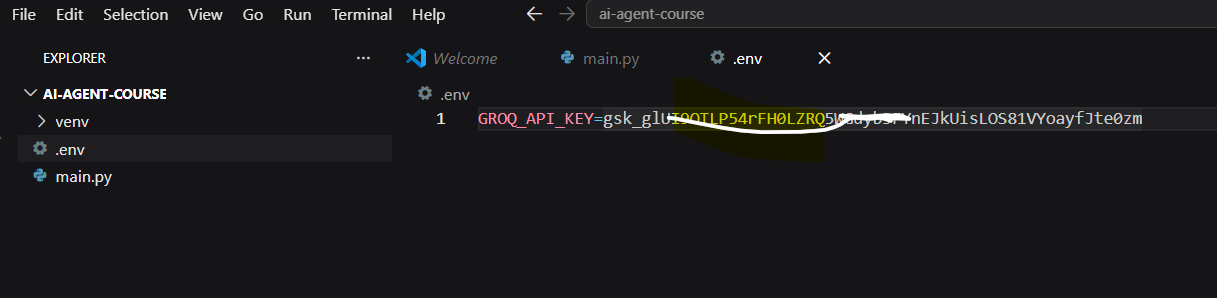
Also create a .gitignore file and add this so your key never gets pushed to GitHub:
.envStep 4 — Load Your API Key
Run this code:
from dotenv import load_dotenv
import os

load_dotenv()

api_key = os.getenv("GROQ_API_KEY")

if api_key:
    print("API key loaded successfully")
    print(f"Key starts with: {api_key[:8]}...")
else:
    print("API key not found. Check your .env file.")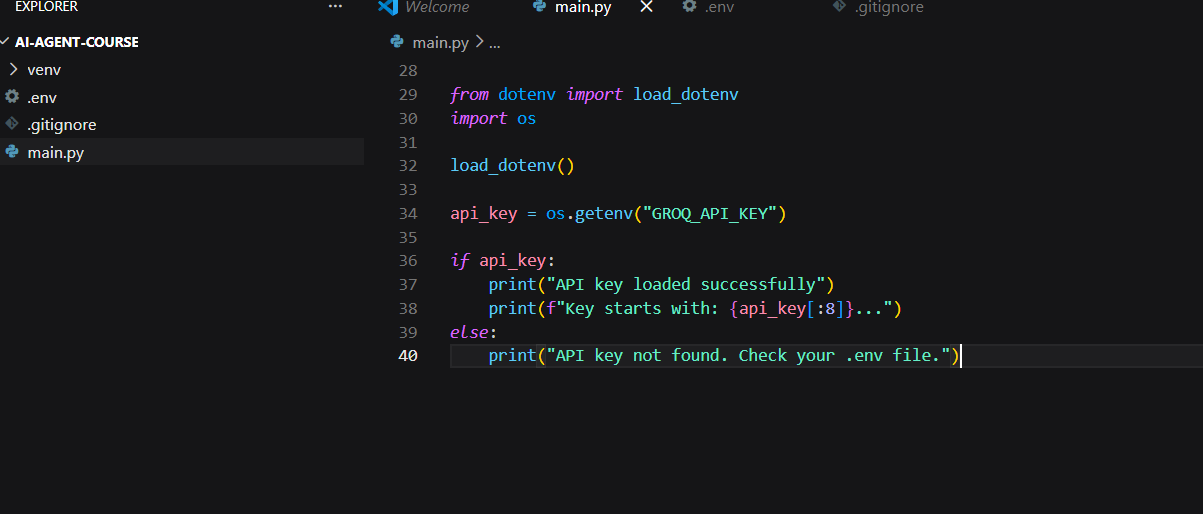
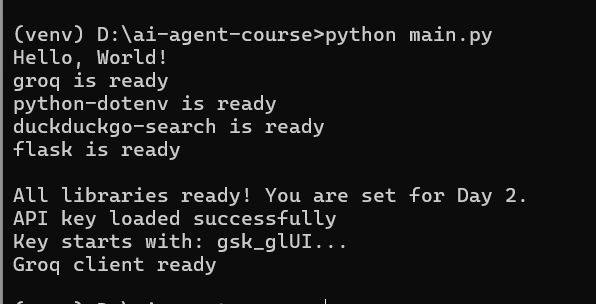
Expected Output

API key loaded successfully
Key starts with: gsk_****
Step 5 — Connect to Groq
Run this code:
from groq import Groq

client = Groq(api_key=api_key)

print("Groq client ready")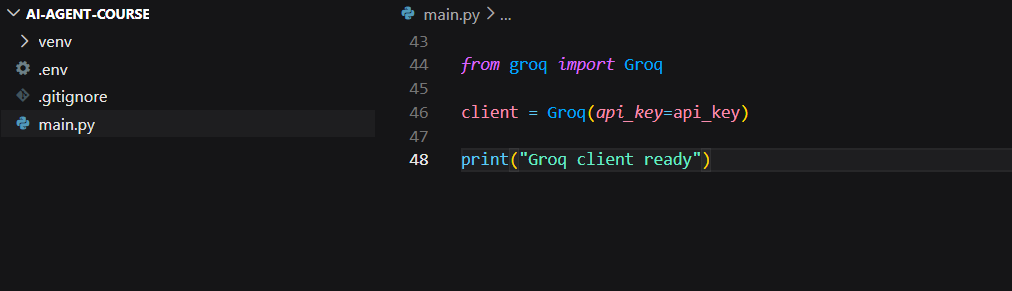
Expected Output
Step 6 — Make Your First AI Call
Run this code:
response = client.chat.completions.create(
    model="llama-3.3-70b-versatile",
    messages=[
        {"role": "user", "content": "Say hello and tell me what you can do in 3 bullet points."}
    ]
)

print(response.choices[0].message.content)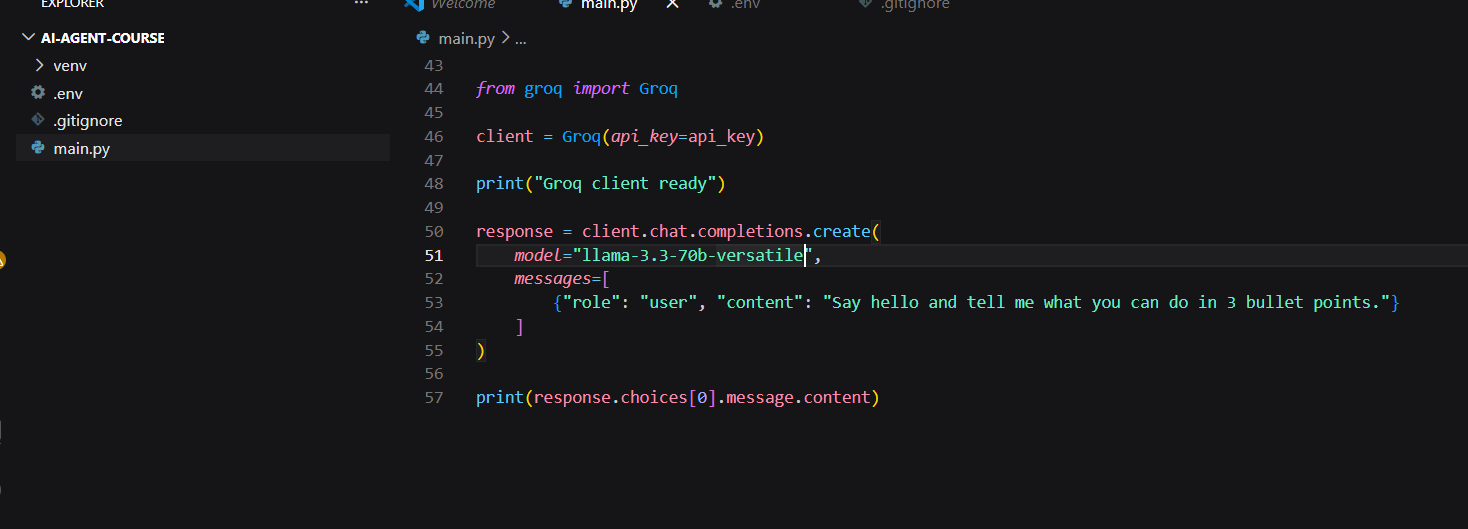
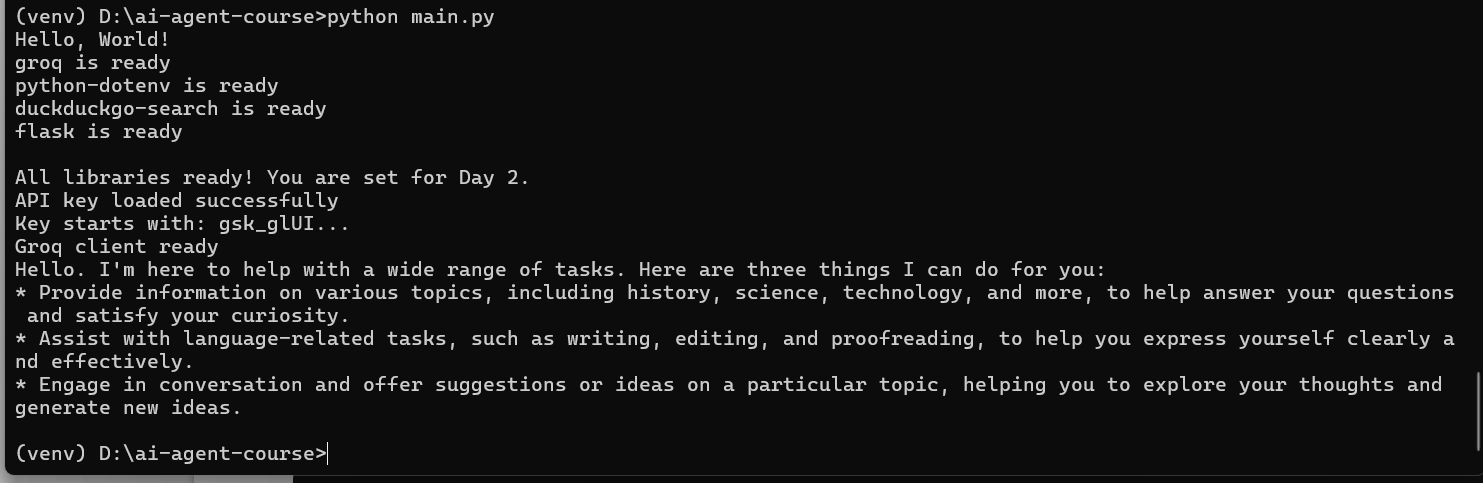
Expected Output
You will see an AI-generated response like:
Step 7 — Understand the Response Object
Run this code:
response = client.chat.completions.create(
    model="llama-3.1-70b-versatile",
    messages=[
        {"role": "user", "content": "What is 2 + 2?"}
    ]
)

print("Model used:", response.model)
print("Tokens used:", response.usage.total_tokens)
print("Response:", response.choices[0].message.content)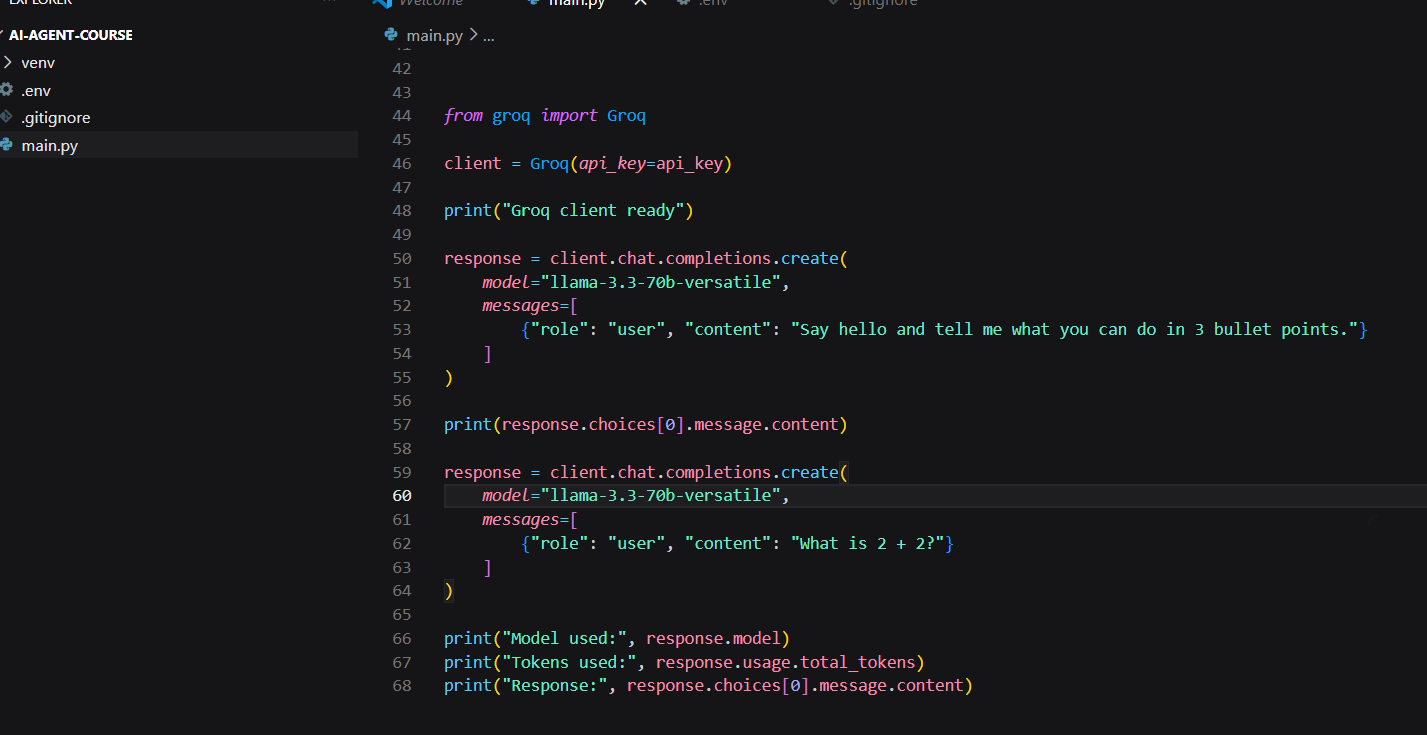
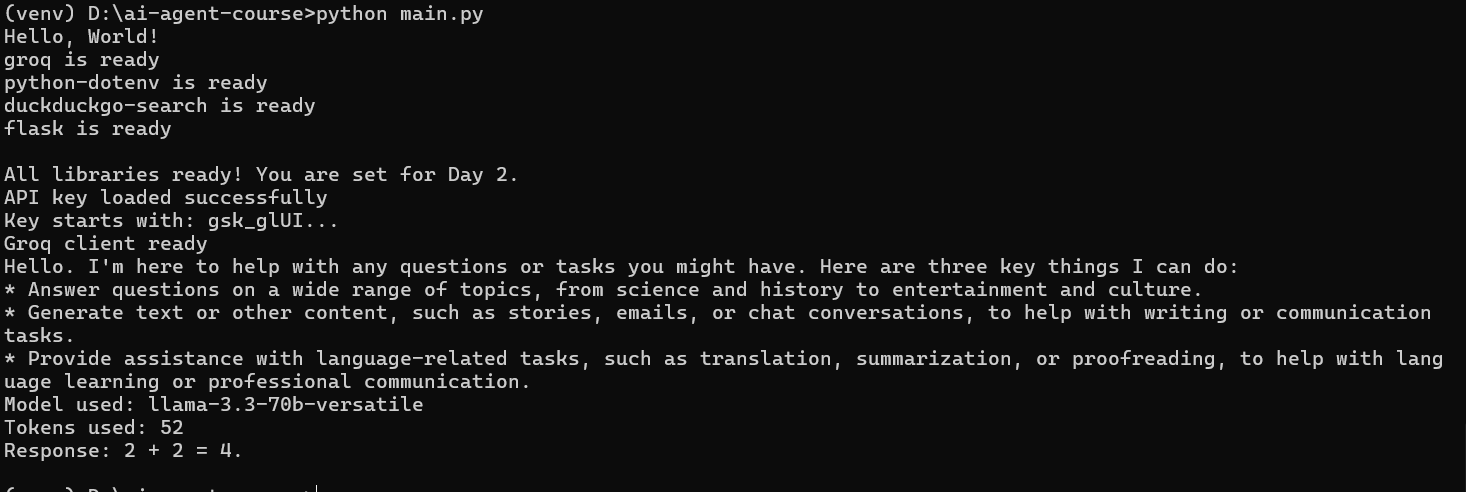
Expected Output
Step 8 — Try Your Own Message
Change the message below to anything you want and run it. Try a few different things to get comfortable with the API.
# Change this message to anything you want
my_message = "Write a one line motivational quote for a developer building their first AI agent."

response = client.chat.completions.create(
    model="llama3-70b-8192",
    messages=[
        {"role": "user", "content": my_message}
    ]
)

print("You asked:", my_message)
print("\nAI replied:")
print(response.choices[0].message.content)
Step 9 — Build a Simple Helper Function
Instead of writing the full API call every time, wrap it in a function. You will use this pattern throughout the rest of the course.
def ask(question):
    response = client.chat.completions.create(
        model="llama3-70b-8192",
        messages=[
            {"role": "user", "content": question}
        ]
    )
    return response.choices[0].message.content


# Test the function with 3 different questions
print("Q1:", ask("What is Python in one sentence?"))
print()
print("Q2:", ask("What is an API in one sentence?"))
print()
print("Q3:", ask("What is Groq in one sentence?"))
Expected Output

✅ Day 2 Complete
Here is what you accomplished today:
Key Takeaways
- Groq account created ✅
- API key saved in .env ✅
- API key loaded in Python ✅
- Groq client connected ✅
- First real AI call made ✅
- Response structure understood ✅
- Helper function built ✅
What is Coming Tomorrow
On Day 3 you will:
- Give your agent a name and personality using a system prompt
- Add memory so it remembers the full conversation
- Build an interactive chat loop in the terminal
- Save the conversation to a JSON file
See you there! 🚀
Continue Learning with Rohi
You've used your 3 free Rohi questions. Create a free account to continue learning.