Web UI & Deploy 🌐🚀⚡
Wrap your AI agent in a Flask web app, build a browser UI, and push your project to GitHub ready for deployment.
Day 6 — Build a Web UI and Deploy Live
AI Agent Course — RohithBuilds
Today you will wrap your agent in a Flask web app.
Step 1 — Install Flask and Gunicorn
Today we are turning your AI agent into a real web application.
To do this, we need two libraries:
- Flask → builds the web server
- Gunicorn → used later for production deployment
Open your terminal and run:
pip install flask gunicornExpected Output
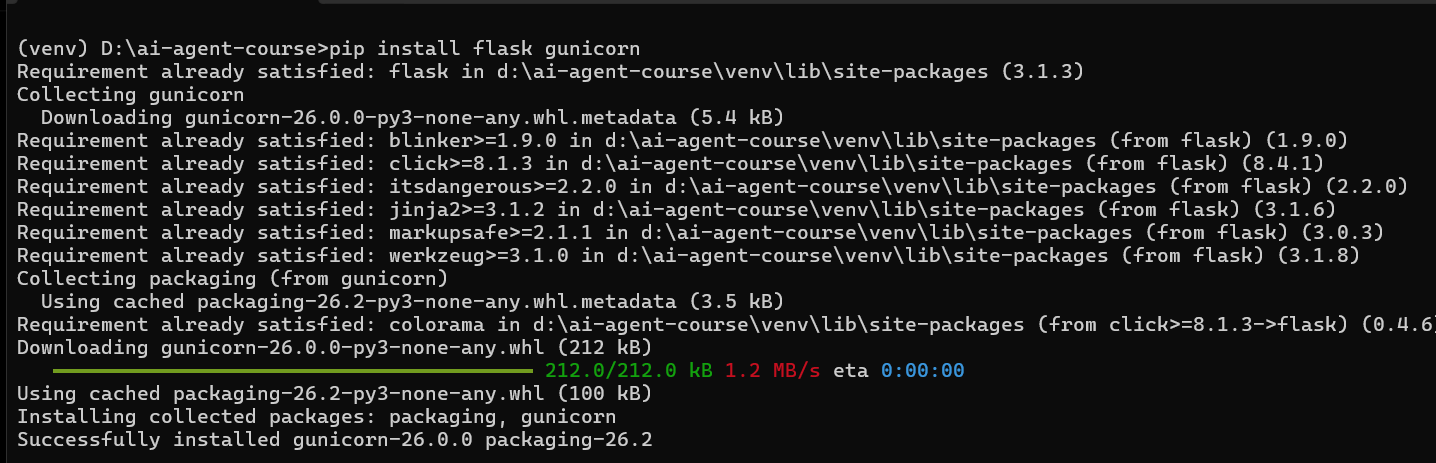
Now your system is ready to convert your AI agent into a web app.
Step 2 — Create app.py
Now we are connecting our Flask application to the Research Agent built in Day 5. Instead of rewriting the search and report logic, we will import and reuse the functions from research_agent.py.
Create a file named app.py and add:
from flask import Flask, request, jsonify, render_template, send_file
from dotenv import load_dotenv
import os
# Import functions from Day 5
from research_agent import search_web, write_report, save_report
load_dotenv()
app = Flask(__name__)
@app.route("/")
def home():
return render_template("index.html")
@app.route("/research", methods=["POST"])
def research_route():
data = request.get_json()
topic = data.get("topic", "").strip()
if not topic:
return jsonify({
"success": False,
"error": "Please enter a topic."
})
print(f"Researching: {topic}")
search_results = search_web(topic)
report = write_report(
topic,
search_results
)
filename = save_report(
topic,
report
)
return jsonify({
"success": True,
"filename": filename,
"preview": report[:500]
})
@app.route("/download/<filename>")
def download_report(filename):
return send_file(
filename,
as_attachment=True
)
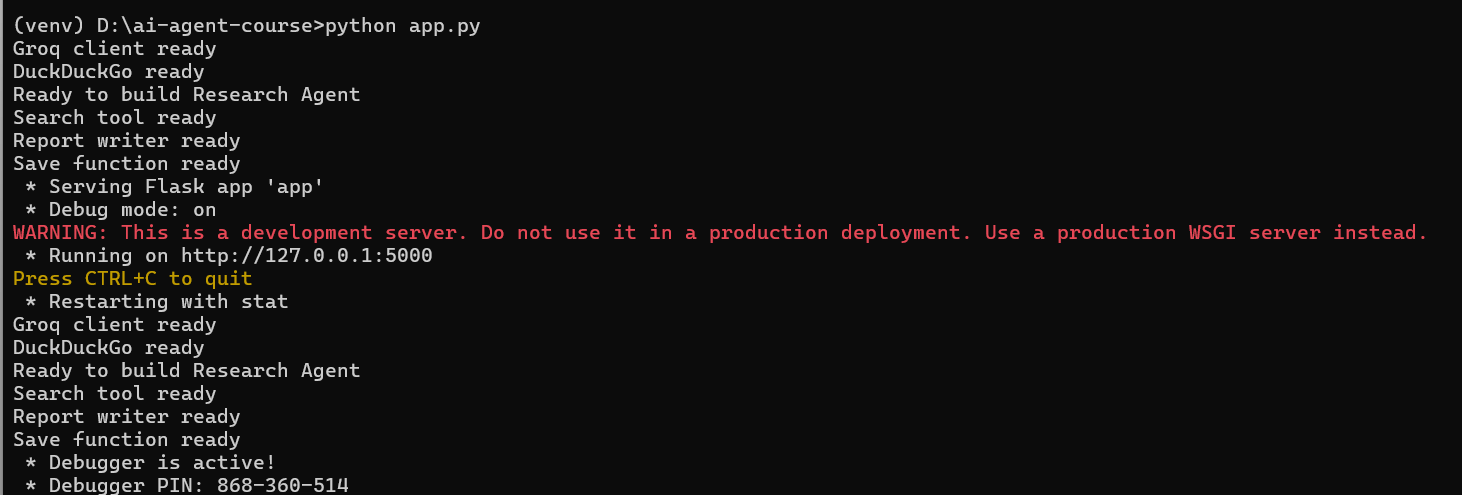
if __name__ == "__main__":
app.run(debug=True)Run the file:
python app.pyExpected Output

What this app does:
- Receives a research topic
- Searches the web
- Generates a report using Groq
- Saves the report automatically
- Provides a download link for the generated file
In the next step, we will build the web page that lets users enter a topic and download the report from their browser.
Step 3 — Create the Templates Folder and index.html
Instead of manually creating folders and files, we will generate everything automatically using a setup script.
Create a new file setup_frontend.py and add:
import os

os.makedirs("templates", exist_ok=True)

html_code = '''
<!DOCTYPE html>
<html>
<head>
    <title>Rohi Research Agent</title>

    <style>
        * {
            box-sizing: border-box;
            margin: 0;
            padding: 0;
        }

        body {
            font-family: Arial, sans-serif;
            background: #f5f7fb;
            display: flex;
            justify-content: center;
            padding: 40px;
        }

        .container {
            background: white;
            width: 100%;
            max-width: 900px;
            padding: 30px;
            border-radius: 12px;
            box-shadow: 0 4px 20px rgba(0,0,0,0.1);
        }

        h1 { margin-bottom: 10px; }

        p { color: #666; margin-bottom: 20px; }

        input {
            width: 100%;
            padding: 12px;
            margin-bottom: 12px;
            border: 1px solid #ccc;
            border-radius: 8px;
            font-size: 16px;
        }

        button {
            padding: 12px 20px;
            border: none;
            border-radius: 8px;
            cursor: pointer;
            font-size: 16px;
            background: #0066cc;
            color: white;
        }

        #preview {
            margin-top: 20px;
            padding: 15px;
            border: 1px solid #ddd;
            border-radius: 8px;
            white-space: pre-wrap;
            min-height: 150px;
        }

        .status { margin-top: 15px; color: #555; }
    </style>
</head>

<body>
<div class="container">

    <h1>🤖 Rohi Research Agent</h1>
    <p>Enter any topic and generate a complete AI research report.</p>

    <input id="topic" type="text" placeholder="Example: Artificial Intelligence in Healthcare">
    <button onclick="generateReport()">Generate Report</button>

    <div class="status" id="status"></div>
    <div id="preview">Report preview will appear here...</div>

</div>

<script>
async function generateReport() {
    const topic = document.getElementById("topic").value.trim();
    if (!topic) { alert("Please enter a topic."); return; }
    document.getElementById("status").innerText = "Researching...";
    const response = await fetch("/research", {
        method: "POST",
        headers: { "Content-Type": "application/json" },
        body: JSON.stringify({ topic: topic })
    });
    const data = await response.json();
    if (!data.success) { document.getElementById("status").innerText = data.error; return; }
    document.getElementById("preview").innerText = data.preview;
    document.getElementById("status").innerText = "Report generated. Download starting...";
    window.location.href = "/download/" + data.filename;
}
</script>

</body>
</html>
'''

with open("templates/index.html", "w", encoding="utf-8") as f:
    f.write(html_code)

print("templates/ folder created")
print("templates/index.html created")
Run the file:
python setup_frontend.pyExpected Output

Project structure:
ai-agent-course/
│
├── app.py
├── research_agent.py
├── setup_frontend.py
│
└── templates/
    └── index.html
Now start the web app:
python app.pyThen open:
http://127.0.0.1:5000Step 4 — Run Flask Locally
Make sure your virtual environment is activated first.
Open Command Prompt and navigate to your project folder:
cd D:\ai-agent-courseActivate the virtual environment:
venv\Scripts\activateYou should see:
(venv) D:\ai-agent-course>Now start the Flask application:
python app.pyExpected Output
Open your browser and visit:
http://127.0.0.1:5000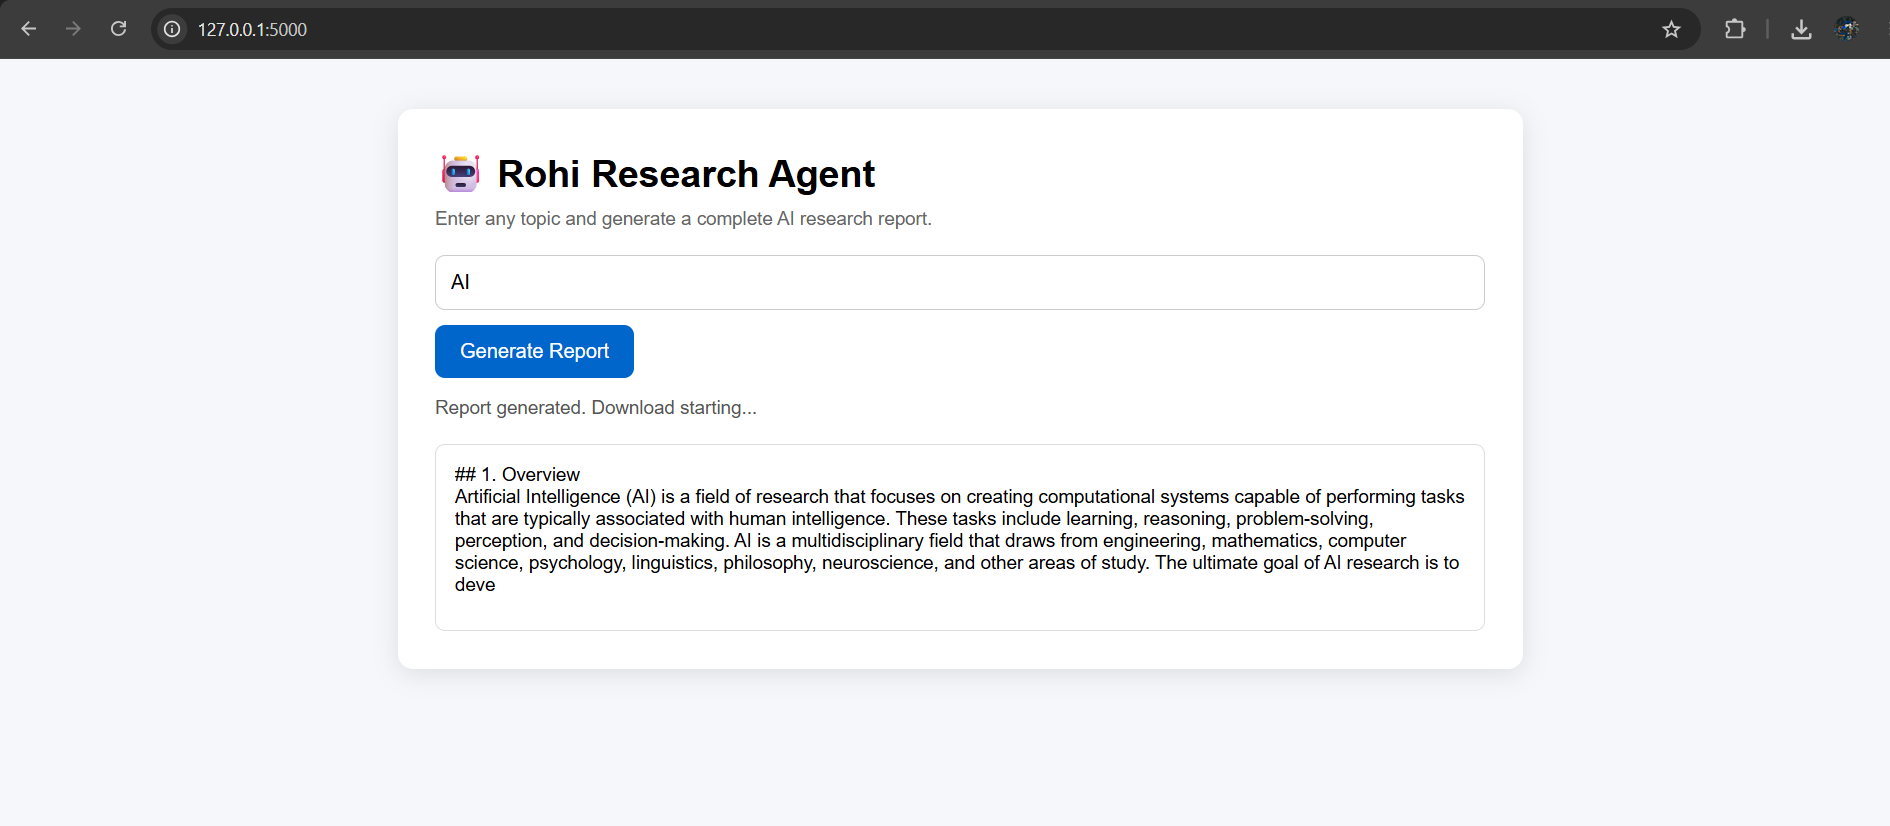
You should see your Rohi Research Agent interface.
To stop the server later:
Ctrl + CStep 5 — Create requirements.txt
When deploying to Render, the platform needs to know which Python libraries to install. We will generate a requirements.txt file directly from the packages installed in our virtual environment.
Make sure your virtual environment is activated:
venv\Scripts\activateThen run:
pip freeze > requirements.txtOpen the file to verify it was created:
type requirements.txtExpected Output
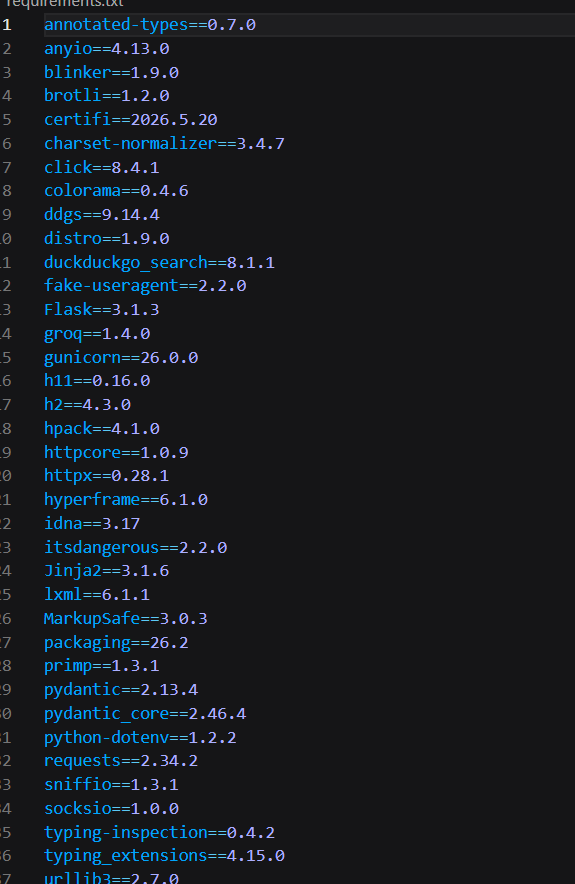
Render will use this file automatically during deployment.
Step 6 — Create .gitignore
Some files should never be uploaded to GitHub. For example:
- API keys
- Virtual environments
- Cache files
- Generated reports
Create a file named .gitignore and add:
.env
venv/
__pycache__/
*.pyc
*.txt
memory.json
Save the file. This protects your Groq API key, virtual environment files, temporary Python files, and generated report files. Your .env file will now stay private when pushing to GitHub.
Step 7 — Push Your Project to GitHub
Now it's time to upload your project to GitHub.
First, create a new repository:
- Go to GitHub
- Click New Repository
- Repository name:
ai-agent-course
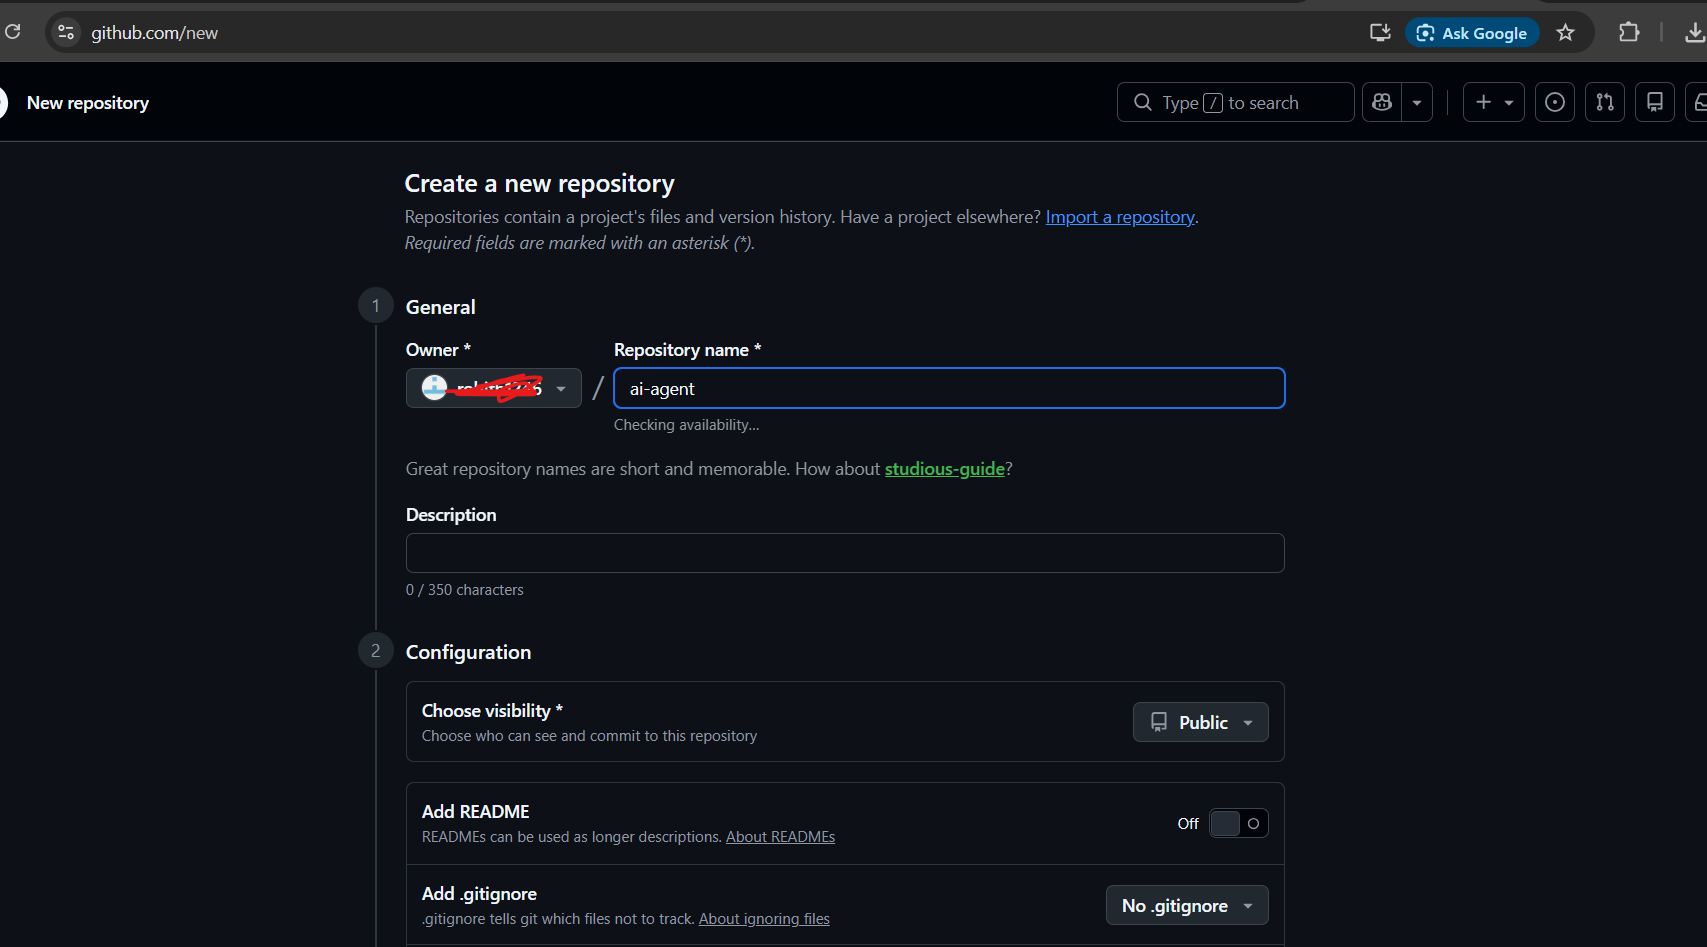
- Click Create Repository
Open Command Prompt in your project folder:
cd D:\ai-agent-courseInitialize Git:
git initAdd all project files:
git add .Create your first commit:
git commit -m "AI agent project - Day 6"Rename the branch:
git branch -M mainConnect your GitHub repository. Replace yourusername with your actual GitHub username:
git remote add origin https://github.com/yourusername/ai-agent-course.gitPush your code:
git push -u origin mainExpected Output
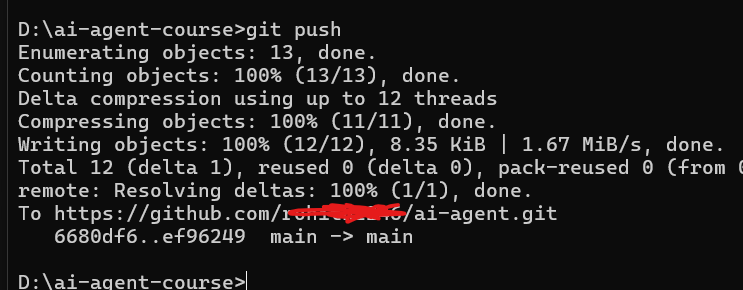
Verify Upload
Refresh your GitHub repository page. You should see files similar to:

Your project is now stored on GitHub and ready for deployment.
Congratulations 🎉
You have successfully built a complete AI Research Web Application.
Your app can:
- Accept a research topic
- Search the web
- Generate an AI-written report
- Save the report automatically
- Download the report to the user's device
- Run entirely in the browser
Project structure:
app.py
research_agent.py
setup_frontend.py
requirements.txt
templates/
At this point your application works perfectly on your own computer. But there is one limitation — only you can access it. If someone else wants to use your AI Research Agent, they would need your code and your computer.
In Day 7, we will solve that problem. We will deploy your application to the internet so anyone in the world can open a link and use your AI Research Agent.
✅ Day 6 Complete
Here is what you accomplished today:
Key Takeaways
- Flask application created ✅
- Research Agent connected to Flask ✅
- Frontend UI built ✅
- Topic input and report generation working ✅
- Automatic report downloads working ✅
- requirements.txt created ✅
- .gitignore configured ✅
- Project pushed to GitHub ✅
What Is Coming Tomorrow
On Day 7 you will:
- Deploy your AI Research Agent to Render
- Add your Groq API key securely
- Get a public URL anyone can access
- Share your project with friends and users
- Learn how real AI apps are deployed to production
By the end of Day 7, your AI Research Agent will be live on the internet and accessible from anywhere in the world.
See you tomorrow! 🚀🌍
Continue Learning with Rohi
You've used your 3 free Rohi questions. Create a free account to continue learning.